I never seem to leave myself enough time to get ready these days. I have a lot of holiday shindigs to go to this month, from lunches to cocktails, and working 10 to 12 hours a day does not leave a lot of time for fabulous vintage holiday hair. I know I am not the only one that feels this way.
So I set forth to create some easy vintage holiday hair with fabulous retro accessories to make the hair seem for fabulous than it is. The easy hair takes care of the time constraints, and the accessories make it seem like the style is more. I’ve got plans to post 4 of these, so stay tuned!
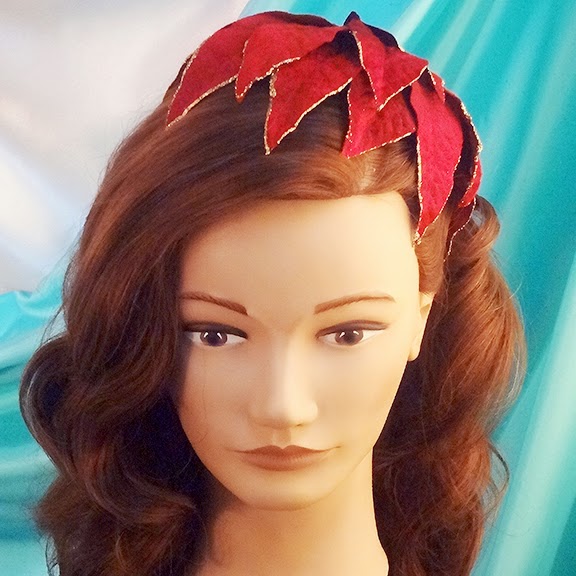
This first style/accessory is a cross between a vintage hat and a large hair flower. My friend Miranda use to design these great hair accessories based around this same concept and I actually showcased it in the 1st edition of the book Vintage Hairstyling.
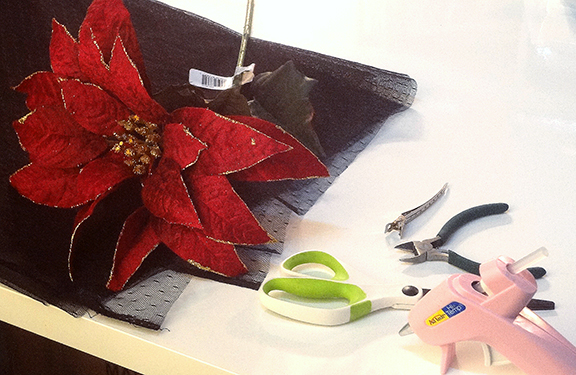
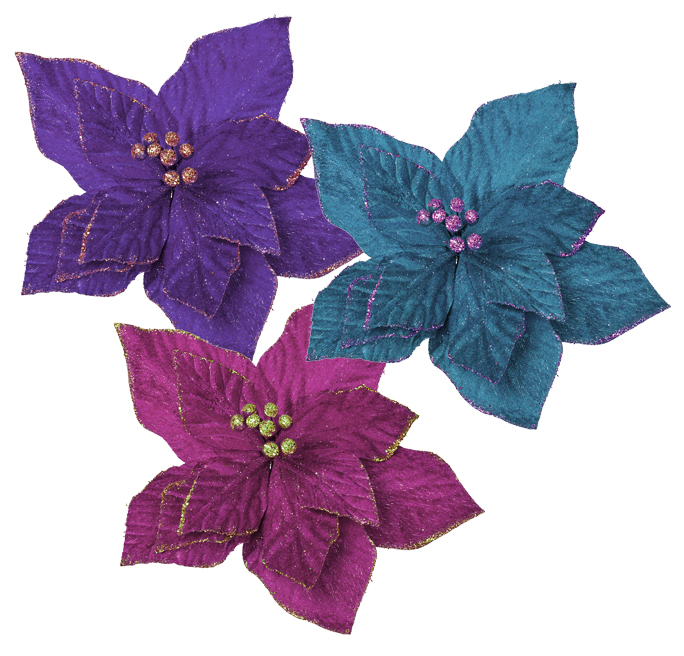
I’m starting with a large fake poinsettia from the craft store. You’ll also need a small piece of fabric for the base of the hat, a hot glue gun, scissors, wire cutters possibly, and clips or bobby pins.
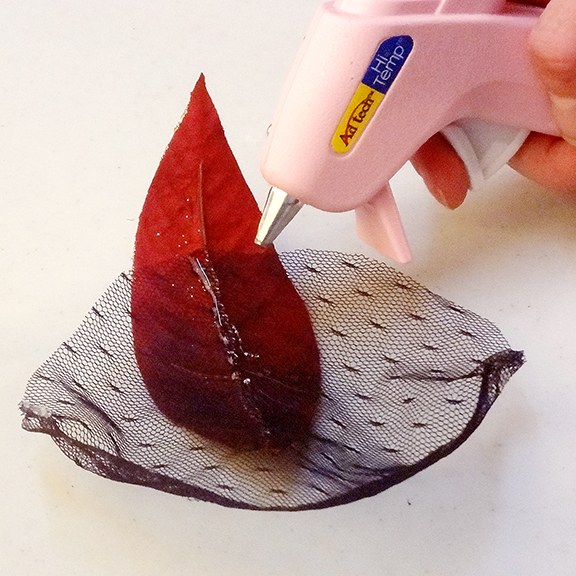
Cut the fabric in a circle that is about 4 inches across. I’m using netting for reasons you’ll see next. This will make the base of the hat. Pinch a small 1 cm wide pieces of the fabric together at opposite sides of each other and hot glue it just at the edges of the fabric piece.
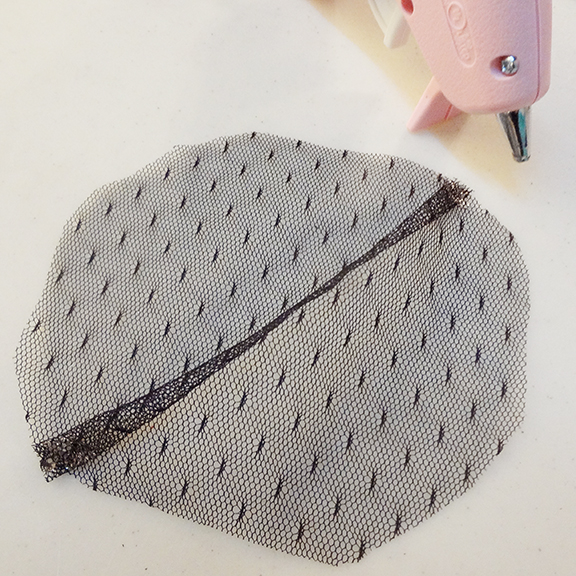
When you do this pinching and glueing, it forces the fabric into an arch that fit more easy over the head, kind of like a dart. Or exactly like a dart.

Turn the cap upside down if you are using netting like I am. I use the netting because I can then glue underneath. Separate out a petal/leaf of the poinsettia and hot glue it to the cap. If you use regular fabric, just line the center of the fabric petal with hot glue and press it against the fabric.
Continue until you have a full circle of leaves.
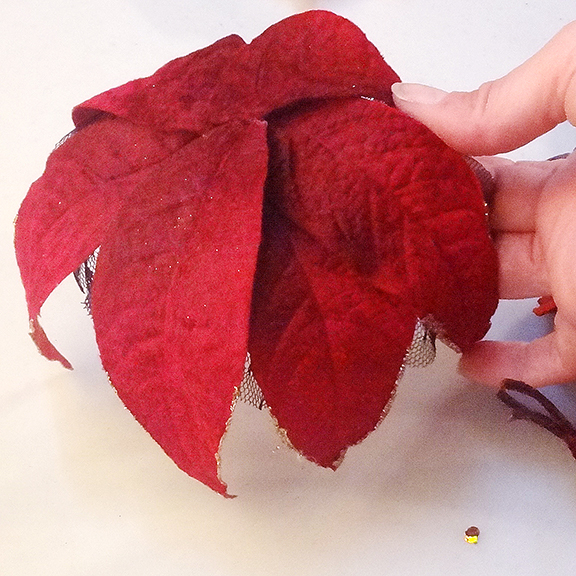
Then start glueing petals to build up the hat and cover gaps.

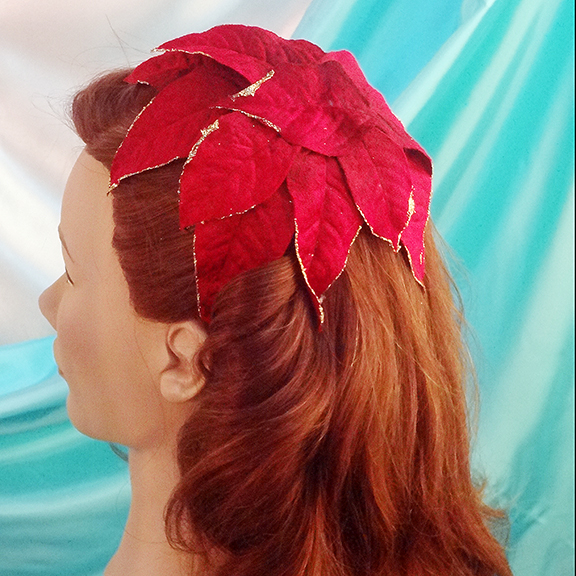
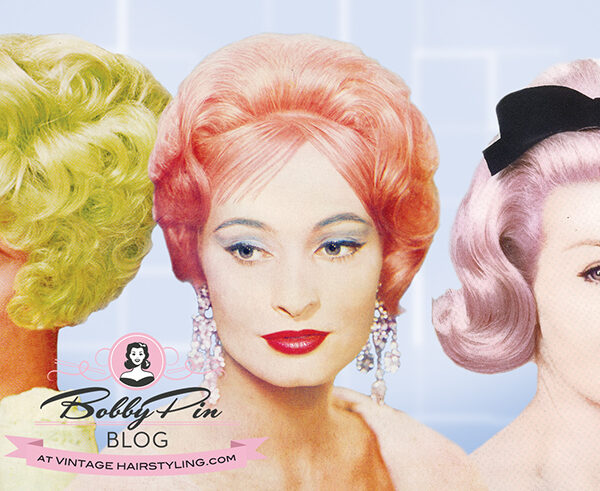
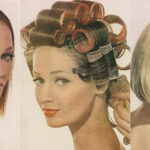
The hairstyle I used is very simple. Simple curls brushed out with a part on the side. Ladies, please brush your curls out after you have run the curling iron through. Ringlets are for Shirley Temple. Use a hair comb or hair pins to hold back the shorter side of the hairstyle.

Now just place and use bobby pins to hold it down. This great cap can go in all kinds of places around your head.

What I love about this is that now that fake poinsettias come in all kinds of colors, you can pretty much find one to go with any colored dress you want to wear this December!


2 Comments
I love this! How very creative. I might have to try this.
Thanks doll,
The Glamorous Housewife
Very cool. Love it.
Comments are closed.