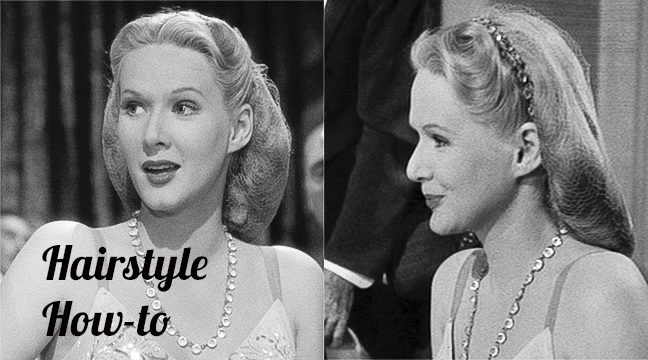
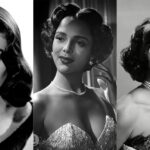
Today’s hairstyle tutorial draws its inspiration from Jill Vincent in 1946s Black Angel. I originally called it the “Show off your necklace hair style” because it keeps your hair away from your neckline. So if you are wearing a dress with fabulous beading around the top or you have a beautiful necklace you want to show off, this looks great.
It is such an elegant hairstyle, perfect for evening. I like that it uses netting instead of a snood. It accomplishes what a snood does without the heaviness. I really like snoods, but sometimes they are just too much and detract from the hairstyle and the outfit. This dress and jewelry with a heavy snood would have been a disaster.
The hardest part of this style is the wave at the front, but I have come up with an easier alternative than pin curling to get the effect. This is similar in effect to the Bang Wave in Vintage Hairstyling. The difference is that the wave is a little looser than if you used wet set pin curls.
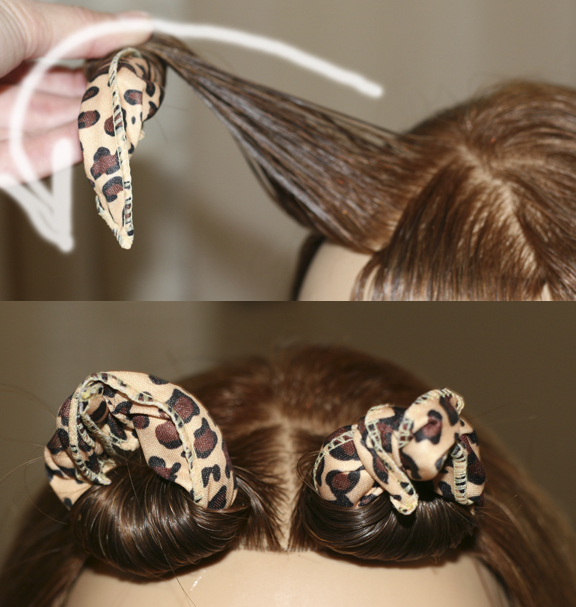
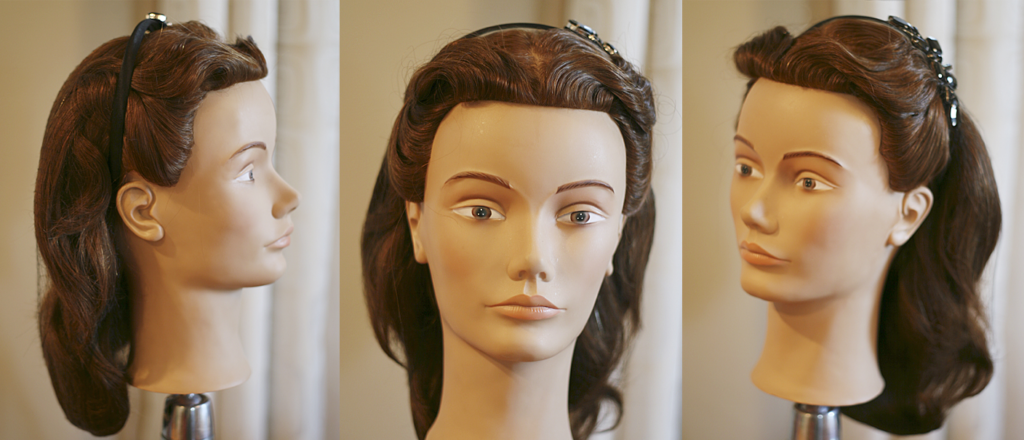
Part out a small section above the forehead in a triangle shape. Part the triangle down the middle so you have equal size triangles on either side.

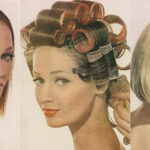
I used my soft rollers on this. Sponge or rag rollers would also work well. You could try hot rollers, but they would need to be the super small ones and if your hair is thick or has length, I am afraid there would not be enough heat to get all the way to the scalp. That is the key here to using the a wet set with soft rollers. We want the curl to start from the scalp.
The hair should be damp from root to end. When you are wrapping the hair, the curl should be half on-base. So pull the hair to a 45 degree angel ( I mean angle). Roll the curl under tightly. You will either need to let this dry overnight or get under a hood dryer. If the end does not dry completely, it is not the end of the world, since the end of the hair will actually be inside the hair net.

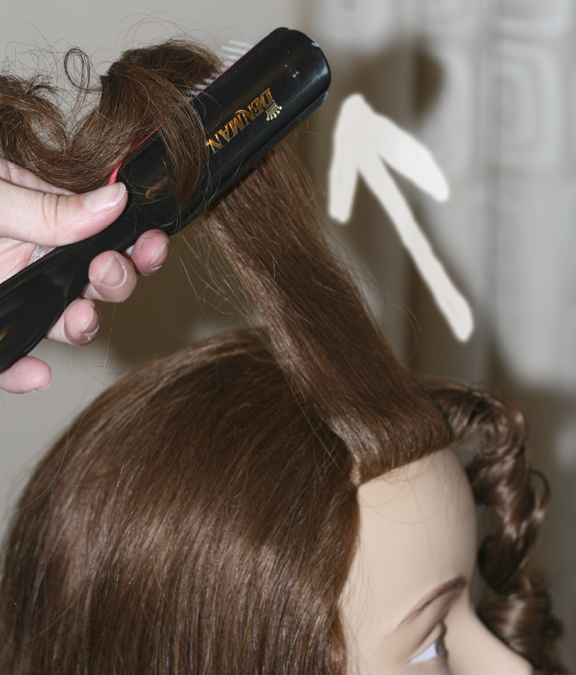
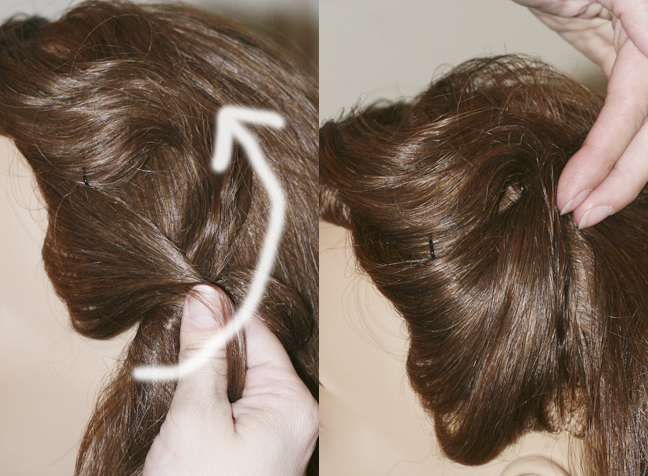
After the hair is dry, pull out the curl. In the bottom right of the next picture you can see what the curl should look like. The curl should go root to end. Take one side curl and brush it back. Then do a little back brushing to put some stamina in the wave. This will help the hair stay in its wave shape.
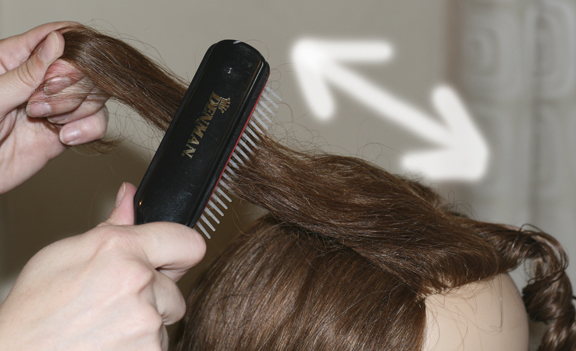
Then with a comb, lightly comb over the visible part of the curl to smooth out the hair on top after back brushing. Use a light hairspray to help control the hair. You can also use the duckbill clip technique from the hair book to help form the wave.
Now you can see the wave take shape after you release the tension on it. Lay it against the head and pin it in place. You will have a little mound on top that I would prefer isn’t there, so just tuck it behind to soften the top wave.
With the section of hair that is still hanging over the ear, create a sort of upward twisting french twist and connect it with the wave above to make it look like it is all the same part of the style. Pin in place with the hair pins going under the hair style to lock it. I try really hard to hide pins as much as possible.
I have done nothing to the back of this mannequin’s hair for this. I just brushed it out very smooth. She still has a little bend in her hair from the last time I used her for something and that is all I need. There is no specific curl needed for the hair going in the hairnet. Just gather the remaining hair and tuck it into the hairnet. Bring the net all the way up to the crown and use a couple hairpins to pin it place.
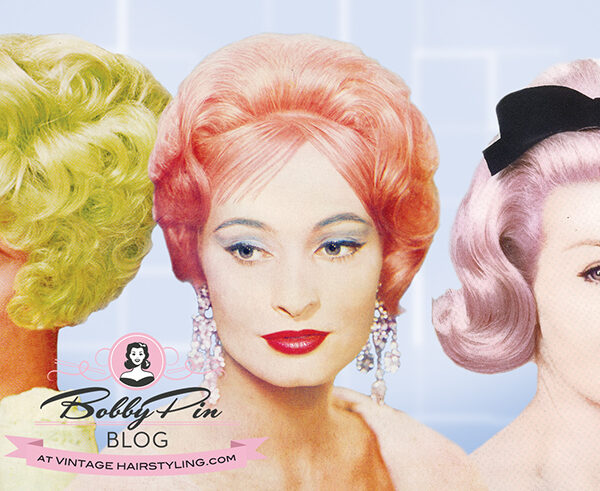
I am using a black hairnet, since I am going to finish the style with a black headband. In keeping with lovely June above, I want the hairnet to be part of the accessory and see it without it screaming at me like a snood.
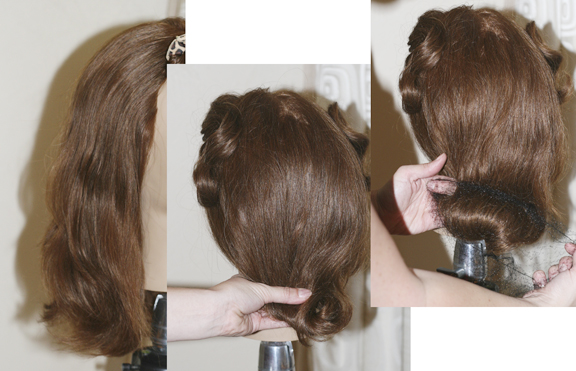
Once you get it in place, spread the hair with your fingers to get some fullness.
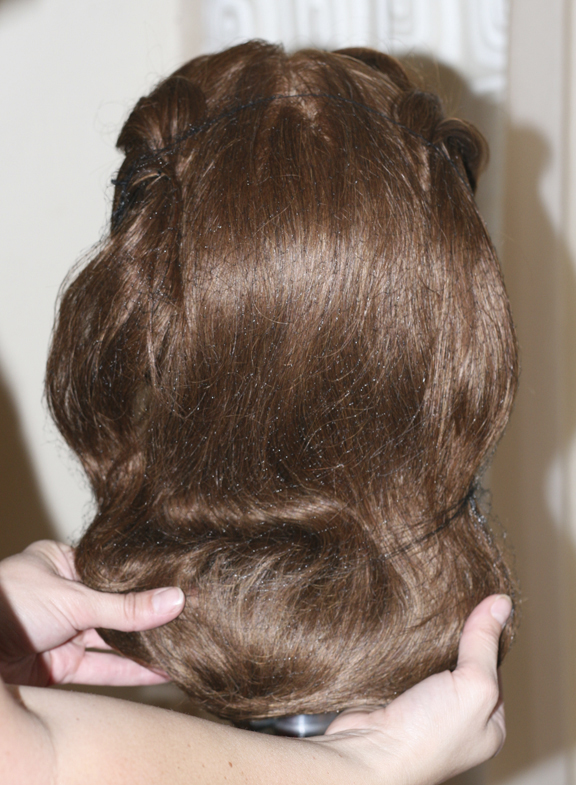
Finish it with a headband of choice to cover the end seam of the hairnet and fancy it up a bit. Enjoy!


8 Comments
Lovely!
Thanks for the great tutorial – this is a great alternative to pincurls with long hair. I will be teaching this in my chair!
Love this vintage blog. If you love vintage make up and the history of Maybelline from 1915-1968 check out http://www.maybellinebook.com
I love this! It would be great for me in the winter when I want to wear my hair down and still control it when it gets really dry with static electricity.
Thanks for lovely tutorial. It helped me a lot!
Wow, that looks amazing !
I will definitely try this, I hope I will be able to find the right hairnets :).
– Jip –
http://www.oldfashionedatheart.blogspot.com
I. LOVE. YOUR. BLOG.
I did a search for bobby pin hairstyles and was so excited to find you! Awesome!
Amazing..!
Your tutorial is very benefited for us. It is very good to share the whole style in steps. Which is really helpful for us..
Games For Young Children
Comments are closed.